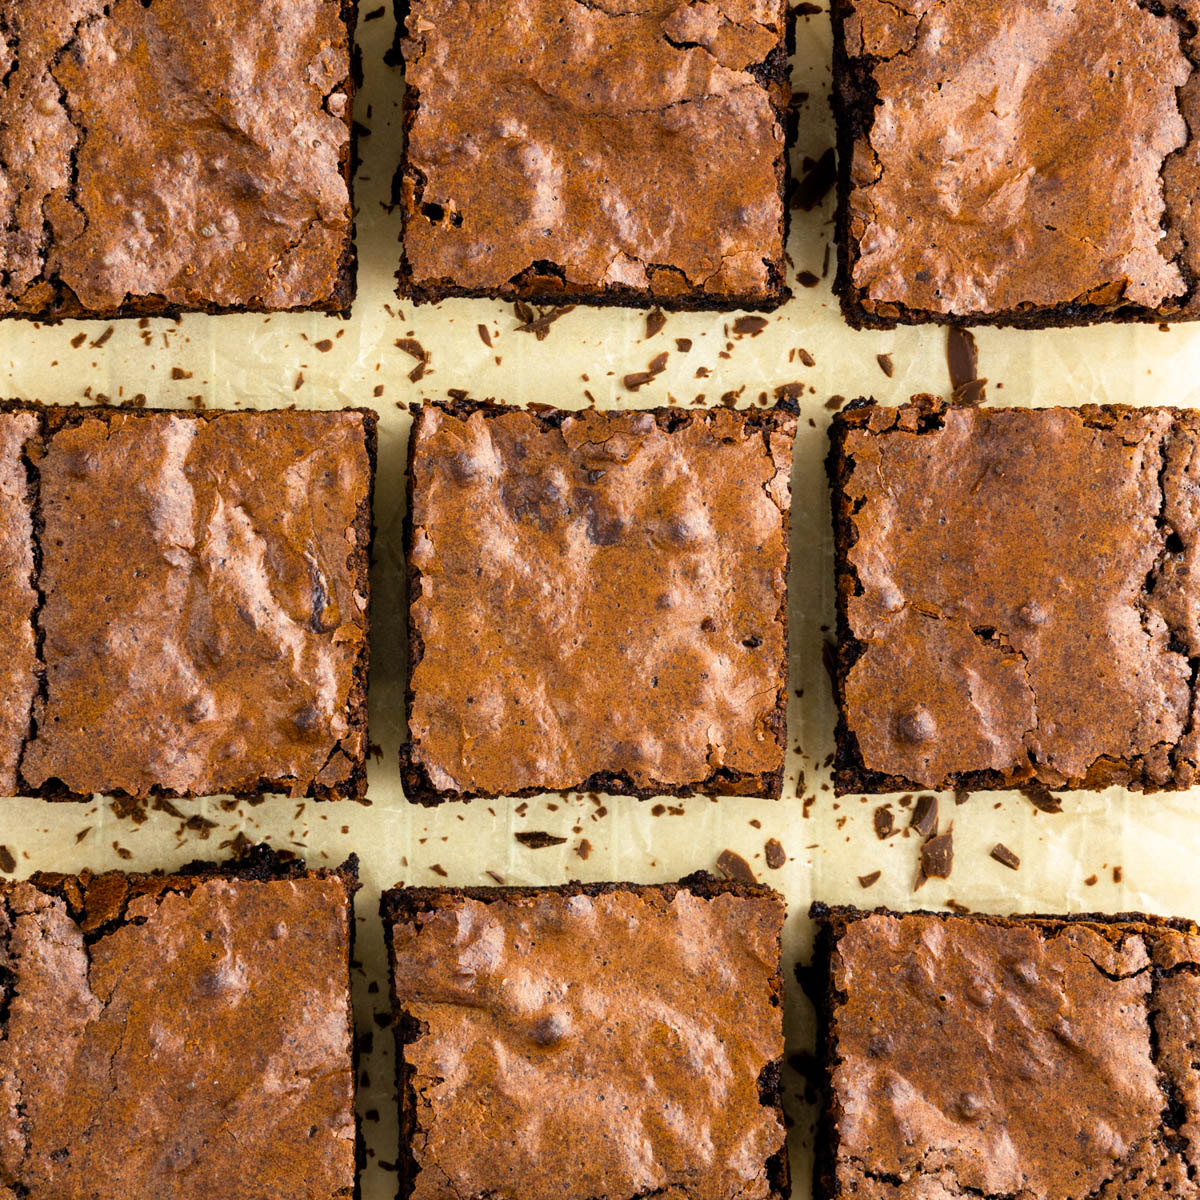
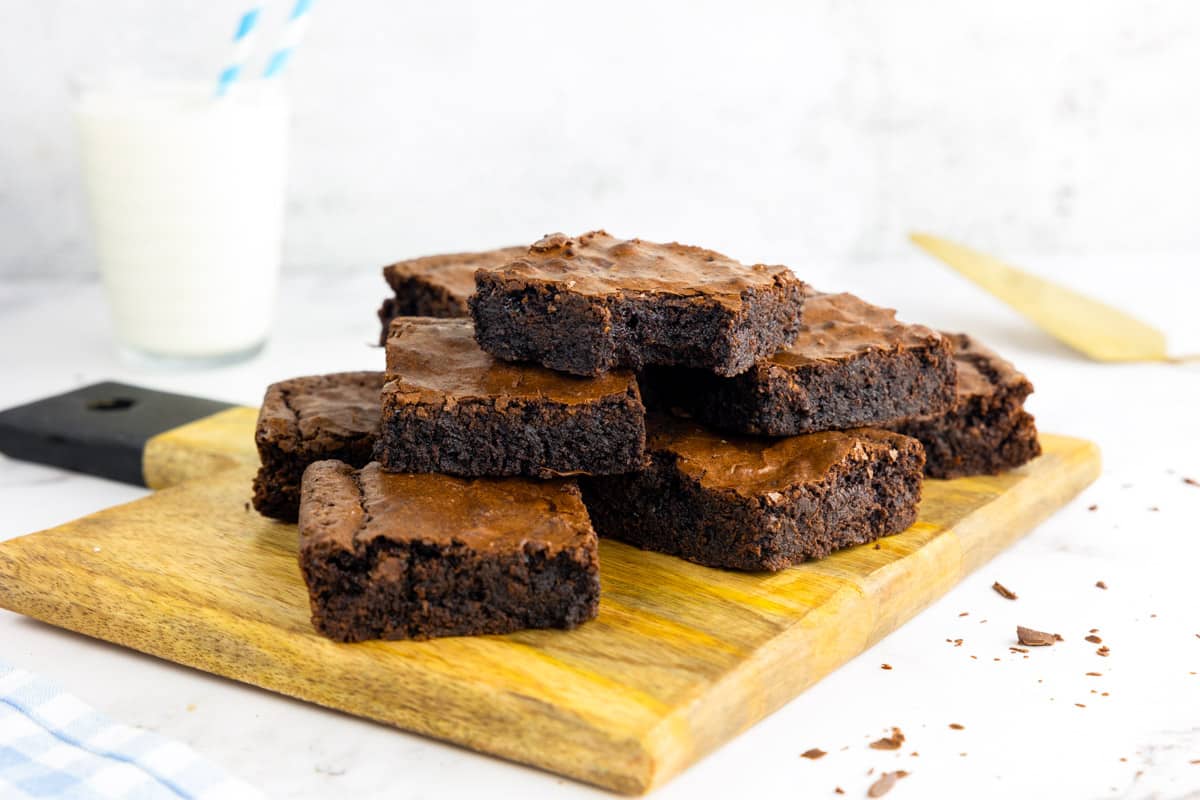
Easy Brownie Recipe
This easy brownie recipe comes together with just 6 main pantry-staple ingredients and 2 optional add-ins: salt and vanilla extract. They bake up rich, chocolatey, and perfectly chewy with minimal effort.
You don’t need a mixer, fancy ingredients, or any complicated steps. Everything mixes easily by hand, and the batter goes straight into a lined pan to be baked.
Ingredient Notes
- Unsalted Butter: Gives the brownies richness and moisture. Using unsalted butter lets you control the salt in the recipe. If you only have salted butter, skip the added salt.
- Semi-Sweet Chocolate: You can use either a chocolate bar or chocolate chips, but make sure it’s good quality. Ideally use real chocolate with cocoa butter listed in the ingredients, not compound chocolate made with vegetable oils.
- Granulated Sugar: Standard white sugar helps give brownies their chewy texture.
- Eggs: Use large eggs at room temperature. They blend more easily into the batter and help create a smooth, even texture. Cold eggs can cause the melted chocolate to seize or stiffen, which makes the batter harder to mix. Let them sit out for a bit before using.
- Vanilla Extract: Use a high-quality pure extract for the best result. It enhances the brownie’s depth of flavor and is optional, but worth including. Vanilla bean paste can also be used as a substitute.
- Unsweetened Cocoa Powder: Boosts the chocolate flavor and gives the brownies a darker color. Natural cocoa is best, but Dutch-processed works too if that’s what you have on hand.
- All-Purpose Flour: Provides structure without making the brownies too cakey. This is the same as plain flour in some countries. Measure carefully for the right results!
- Salt: Balances the sweetness and sharpens the chocolate flavor. If you’re using salted butter, skip the added salt.

Chef Tips
Line your tray the right way: Lightly grease the baking tin so the parchment sticks. Cut a sheet of parchment about 1½ inches longer and wider than the base of the pan. Make four cuts at the corners so the paper folds neatly into the shape of the tin. Press it into place and grease the inside of the flaps so they stick to the parchment. The overhang around the edges lets you lift the whole slab out cleanly once it’s cooled.
Mix gently after the flour goes in: Once you add flour, you’re introducing gluten. Overmixing at this stage will develop that gluten and give you a tougher texture. Use a spatula and fold just until the flour disappears.
Let them cool completely before slicing: Brownies need time to set as they cool. Cutting too early will leave you with smudged edges and a gooey center that hasn’t firmed up. For sharp, clean slices, chill the pan once cooled to room temperature and wipe the knife clean between cuts.

Step by Step Instructions
1) Preheat the oven to 355°F (180°C). Line an 8×8-inch baking pan with parchment paper.
2) In a bowl, sift together the cocoa powder and flour. Stir in the salt and set aside.

3) Double boiler method: In a heatproof bowl set over a pan of gently simmering water, melt the butter and chopped chocolate together, stirring frequently until just melted and smooth. Make sure the bottom of the bowl doesn’t touch the water to avoid scorching.
– OR –
3) Microwave method: Place the butter and chocolate in a microwave-safe bowl and heat in 15–20 second bursts, stirring well between each burst, until just melted and smooth. Stop as soon as the mixture is mostly melted and stir to finish dissolving any remaining pieces.

4) Whisk the sugar into the warm chocolate mixture until fully combined.

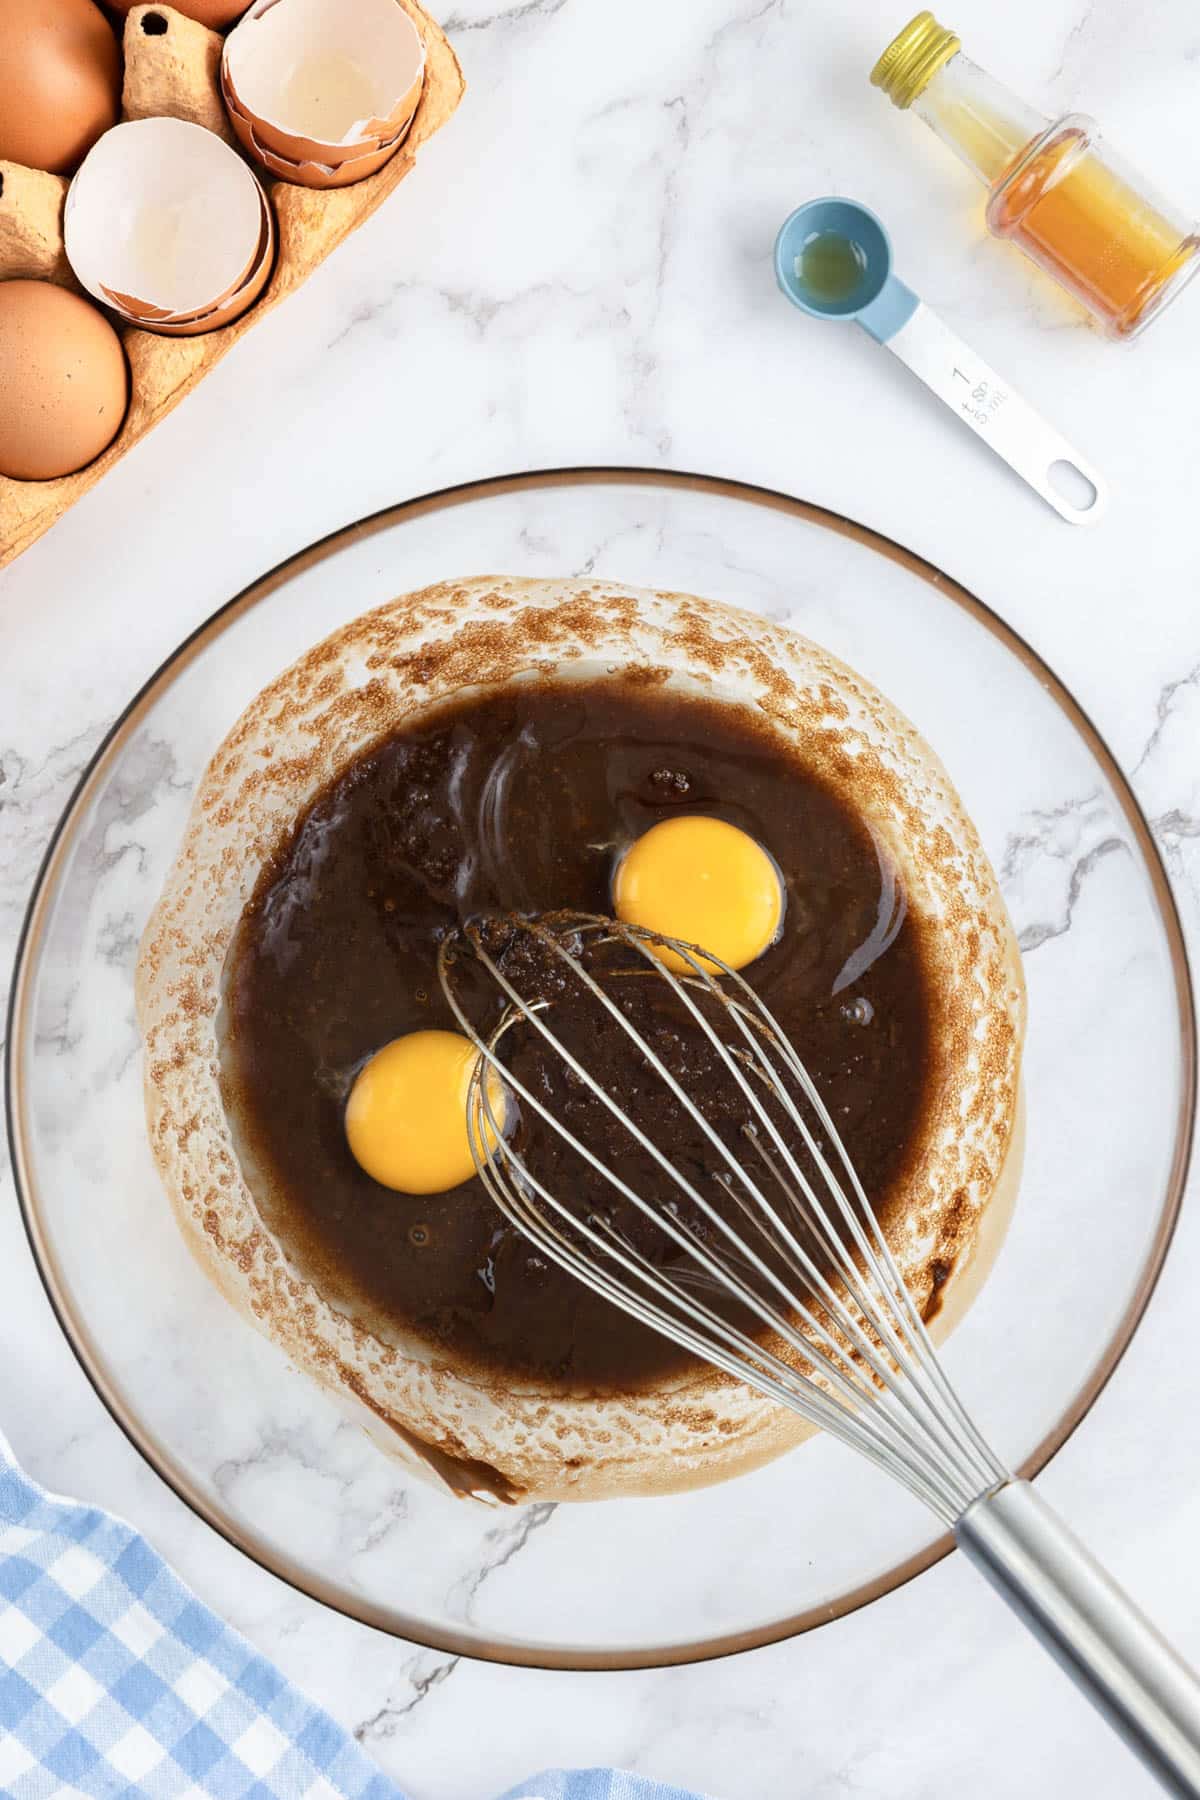
5) Add the room temperature eggs and vanilla extract, then whisk until the mixture becomes smooth and glossy.
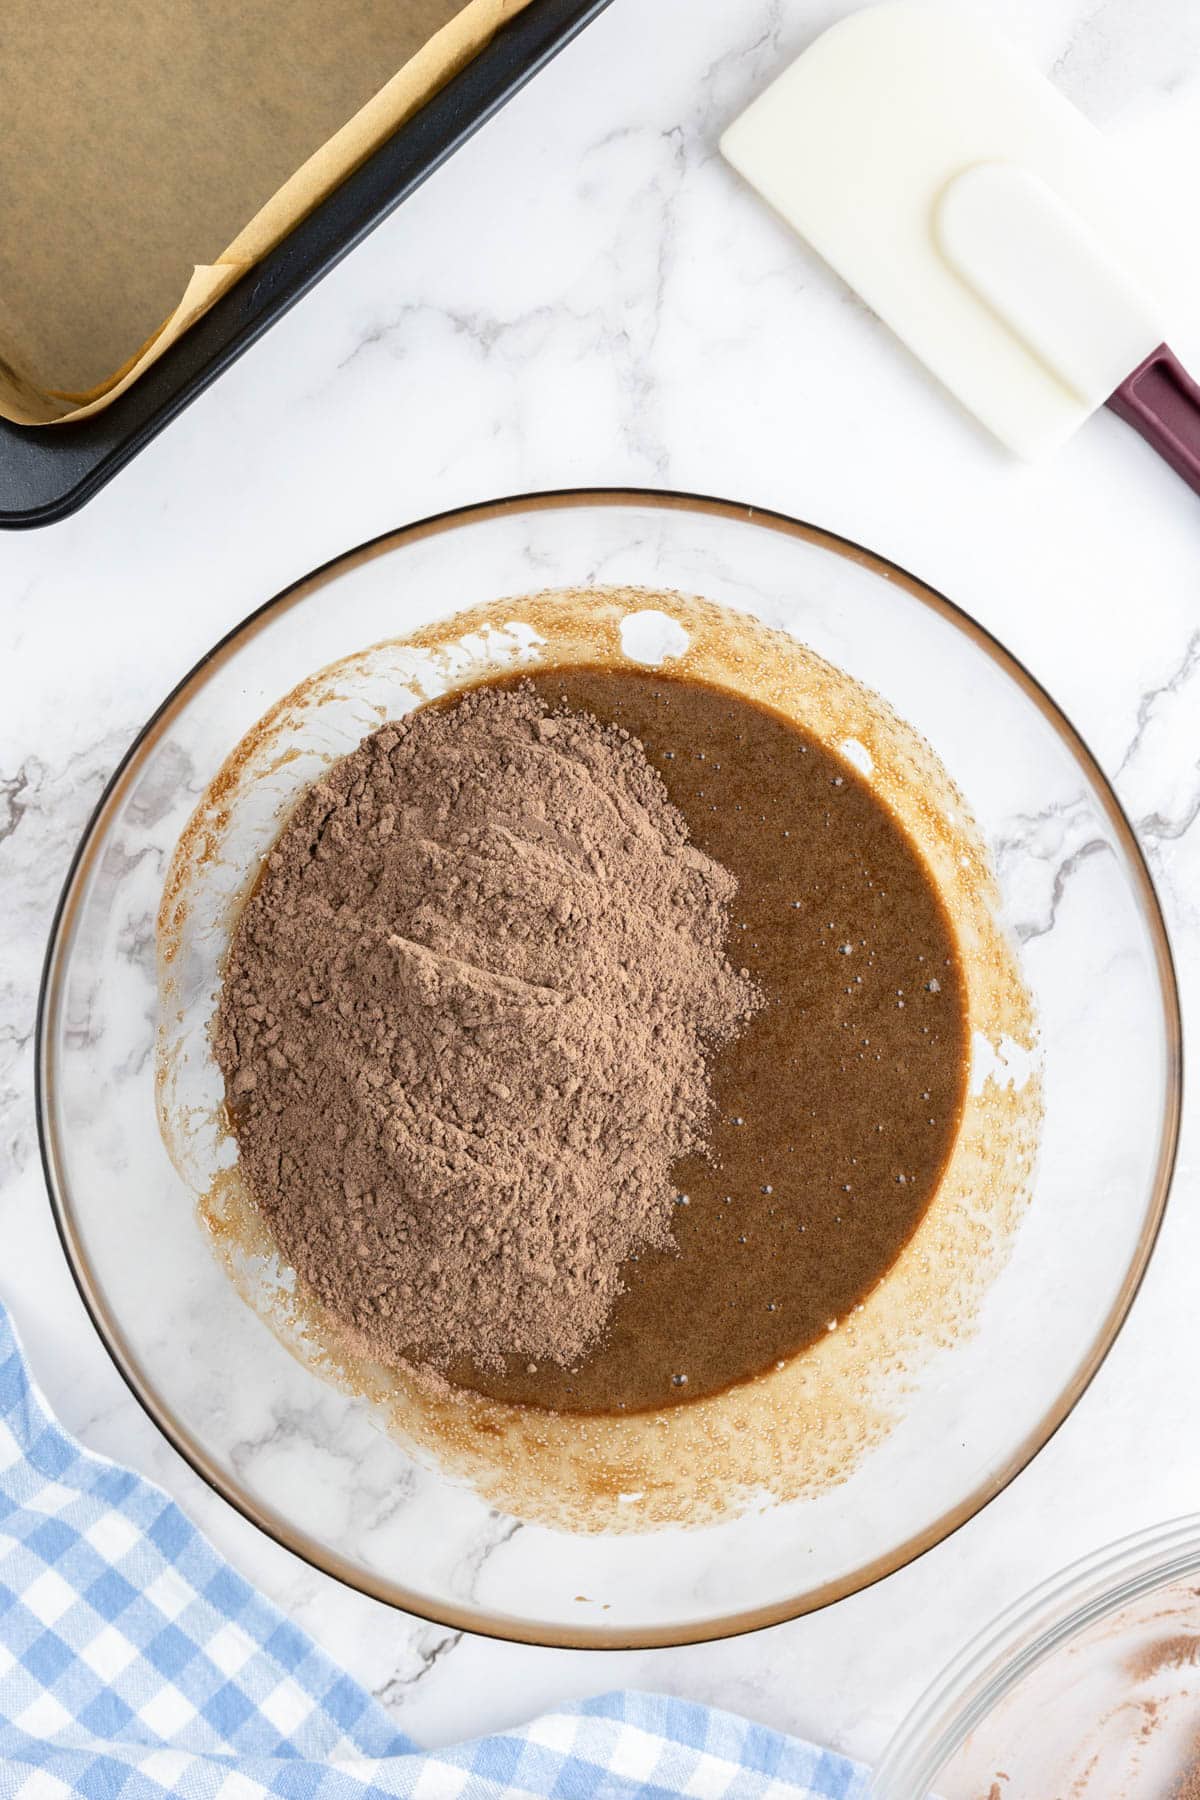
6) Using a silicone spatula or wooden spoon, gently fold in the dry ingredients one third at a time, mixing just until no streaks of flour remain.
7) Pour the batter into the parchment paper–lined tray and smooth the top.

8) Bake for 25 to 30 minutes, depending on your preferred texture:
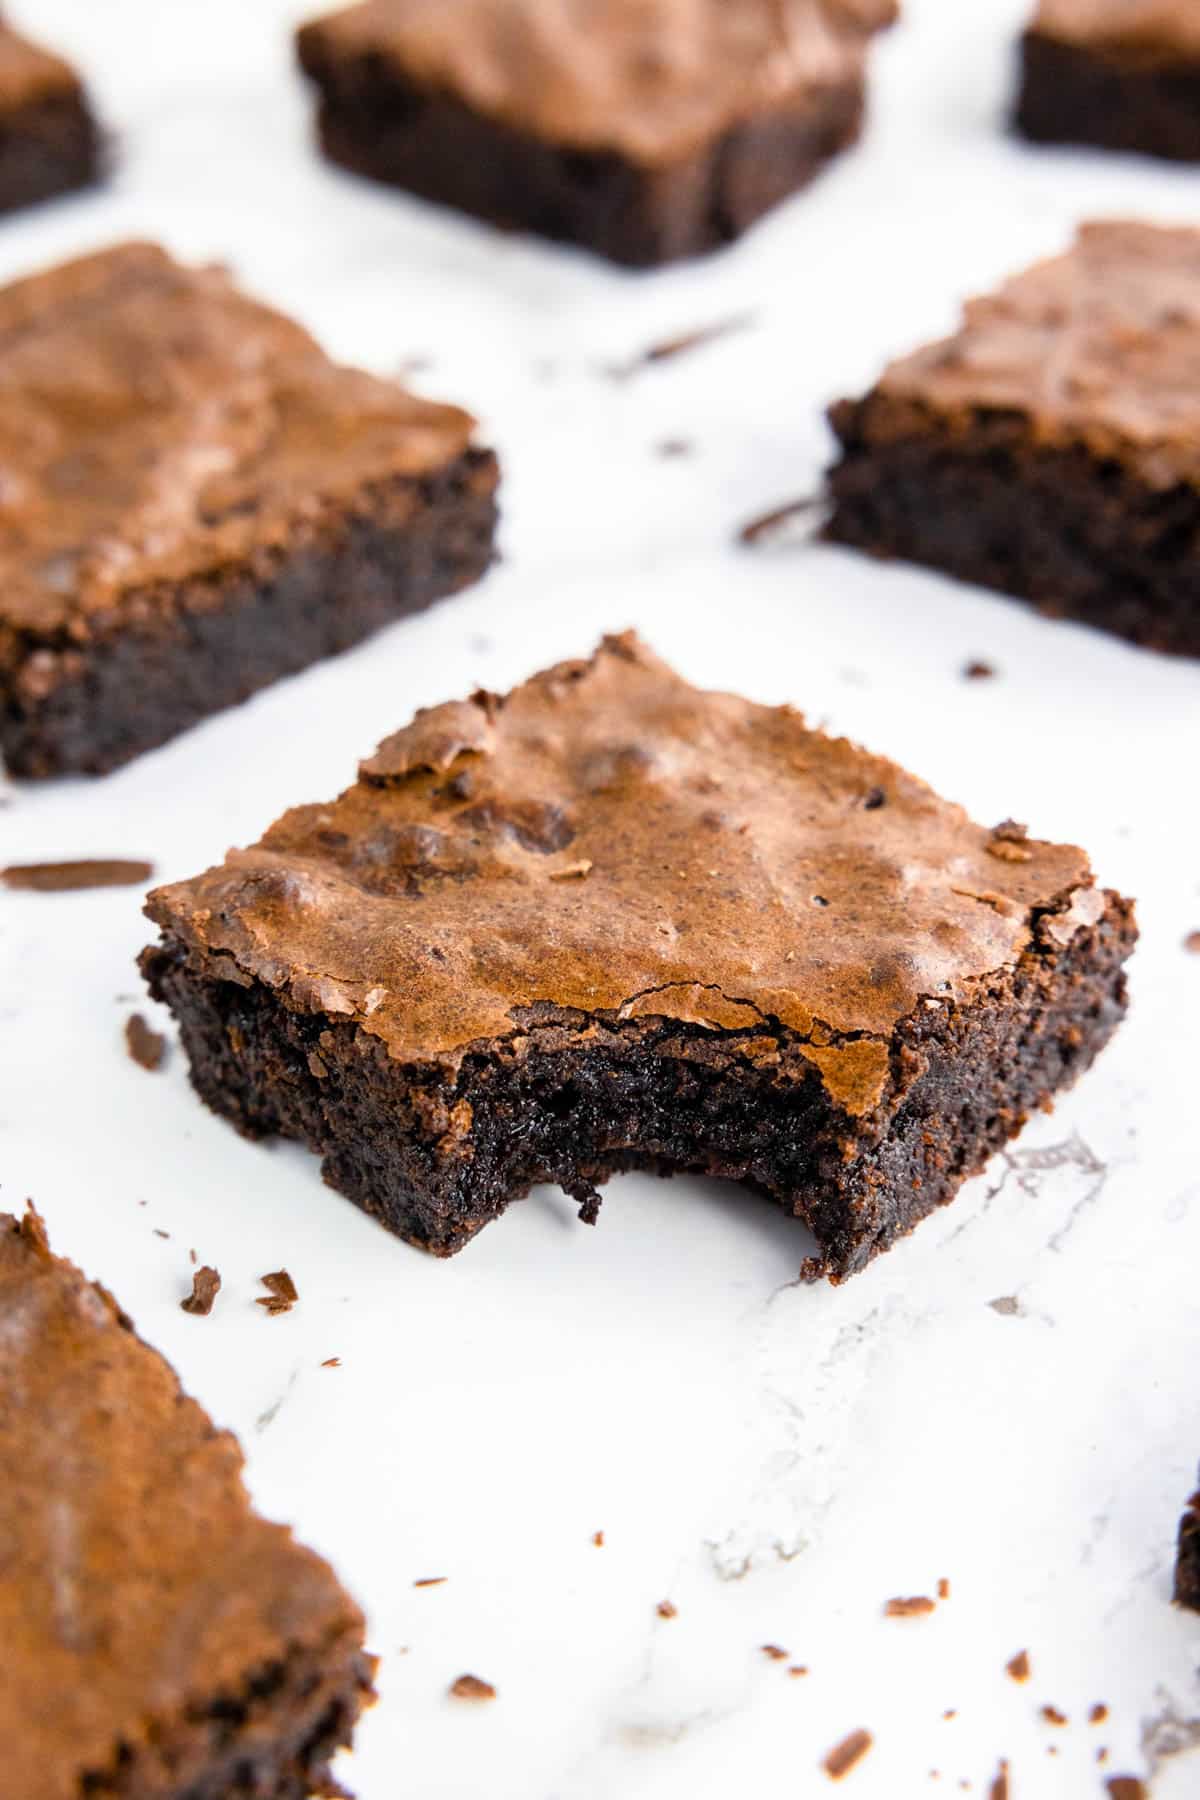
For gooier brownies, start checking at 25 minutes. The edges should be set, but the center should still look slightly soft and the toothpick should come out with a few moist crumbs.
For cakier brownies, check at 30 minutes. The surface should look fully set, and a toothpick inserted in the center should come out mostly clean with just a few dry crumbs attached.
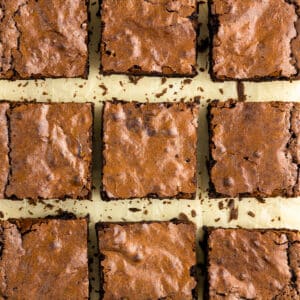
9) Let cool completely in the pan before slicing into squares.

Storage and Leftovers
Room Temperature: Store brownies in an airtight container at room temperature for up to 4 days. Keep the lid sealed to prevent them from drying out. If you want to serve them warm, microwave for about 10 to 15 seconds until warmed through.
Fridge: Brownies can be stored in the fridge for up to 1 week in an airtight container. If you want to serve them warm, microwave for about 20 to 25 seconds until warmed through.
Freezer: Freeze the sliced brownies flat with a little space between each piece. Once frozen solid, transfer them to an airtight container or freezer-safe bag. They’ll keep well for up to 3 months. Thaw at room temperature or warm briefly in the microwave before serving.
Can I Bake These Brownies in a Different Pan Size?
Yes, you can. While this recipe was written for an 8×8-inch pan (64 square inches), it’s easy to adjust for other sizes. Using a larger pan with the same amount of batter will make the brownies thinner and cause them to bake faster. A smaller pan will give you thicker brownies that take longer to cook through.
Popular pan sizes:
7×7-inch pan (49 square inches): This has about a 23% smaller surface area than an 8×8. The brownies will be thicker and take longer to bake. Start checking for doneness about 3-5 minutes later than the original time. This size still gives you 9 standard servings.
9×9-inch pan (81 square inches): This has about a 26% larger surface area than an 8×8. The brownies will be thinner and bake faster. Start checking about 5 minutes earlier. You can still get 9 larger pieces, or cut it into 12 or 16 smaller servings, depending on how you want to size them.
9×13-inch pan (117 square inches): This has about an 83% larger surface area than an 8×8. To maintain a similar thickness and texture, double the recipe. A doubled batch in this pan will be about 9% thicker than the original, which still works well. If you use the original quantity, the brownies will be too thin and likely overbake. For slicing, cut a 4×5 grid for larger pieces (20 servings) or a 4×6 grid for smaller ones (24 servings).
More Recipes You May Like
- Biscoff Brownies
- Kinder Bueno Brownies
- Red Velvet Lava Cake
- No-Bake Biscoff Cheesecake (4 Ingredients)
- Sticky Toffee Pudding
Easy Brownie Recipe
Equipment
- Baking Tray
- Large Bowl
- Wooden Spoon or Silicone Spatula
- Whisk
Ingredients
- 1 stick unsalted butter
- 3 ounces semi-sweet chocolate bar chopped
- 1 ¼ cups granulated sugar
- 2 large eggs room temperature
- 1 teaspoon pure vanilla extract
- ⅓ cup unsweetened cocoa powder
- ⅔ cup all-purpose flour
- ⅓ teaspoon salt
Instructions
- Preheat the oven to 355°F (180°C). Line an 8×8-inch baking pan with parchment paper.
- In a bowl, sift together the cocoa powder and flour. Stir in the salt and set aside.
- In a heatproof bowl set over a pan of gently simmering water (double boiler method), melt the butter and chopped chocolate together, stirring frequently until just melted and smooth. Make sure the bottom of the bowl doesn’t touch the water to avoid scorching.– OR –Place the butter and chocolate in a microwave-safe bowl and heat in 15–20 second bursts, stirring well between each burst, until just melted and smooth. Stop as soon as the mixture is mostly melted and stir to finish dissolving any remaining pieces.
- Whisk the sugar into the warm chocolate mixture until fully combined.
- Add the room temperature eggs and vanilla extract, then whisk until the mixture becomes smooth and glossy.
- Using a silicone spatula or wooden spoon, gently fold in the dry ingredients one third at a time, mixing just until no streaks of flour remain.
- Pour the batter into the parchment paper–lined tray and smooth the top.
- Bake for 25 to 30 minutes, depending on your preferred texture:For gooier brownies, start checking at 25 minutes. The edges should be set, but the center should still look slightly soft and the toothpick should come out with a few moist crumbs.For cakier brownies, check at 30 minutes. The surface should look fully set, and a toothpick inserted in the center should come out mostly clean with just a few dry crumbs attached.
- Let cool completely in the pan before slicing into squares.